

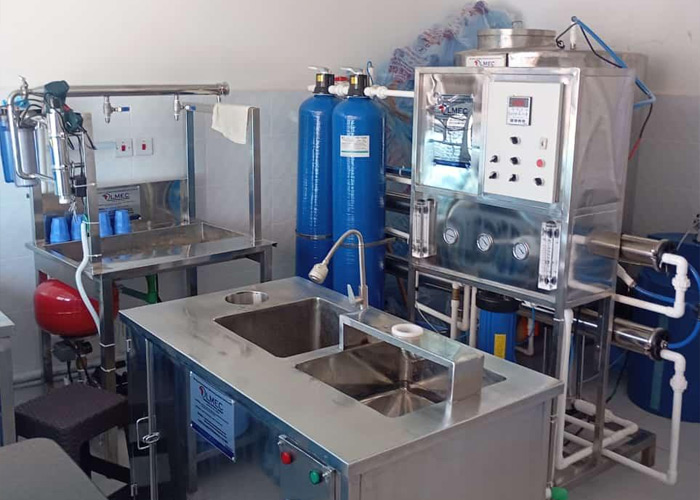
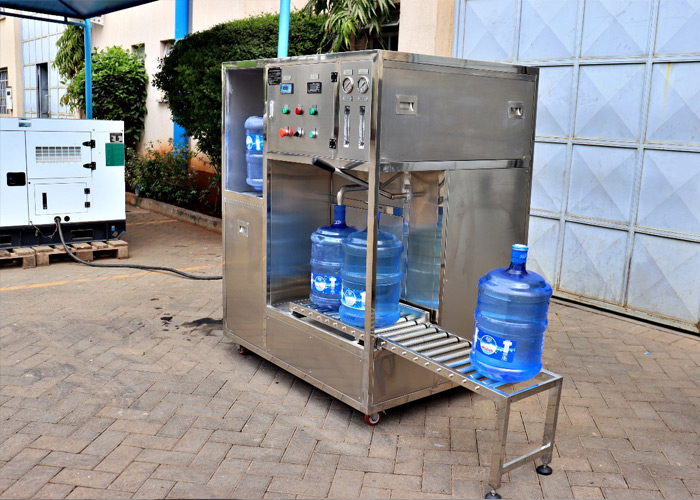

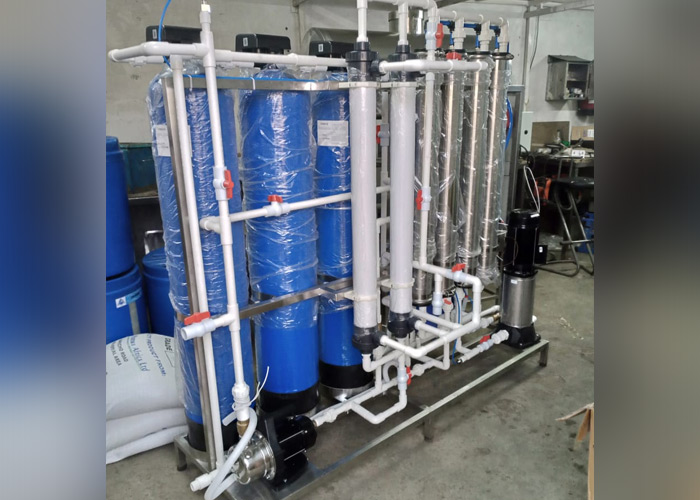


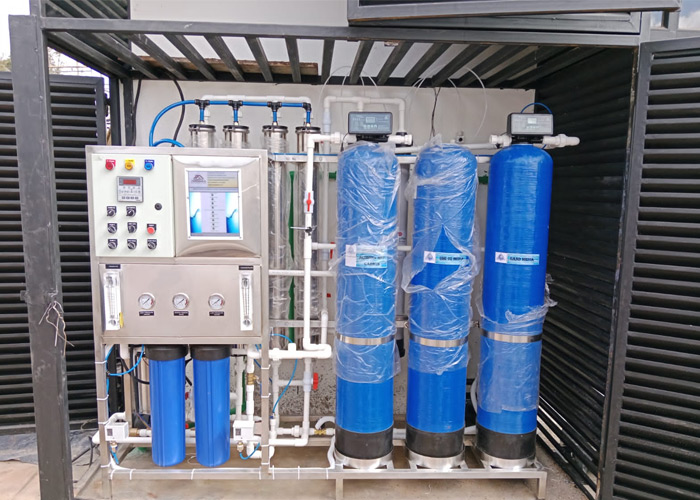

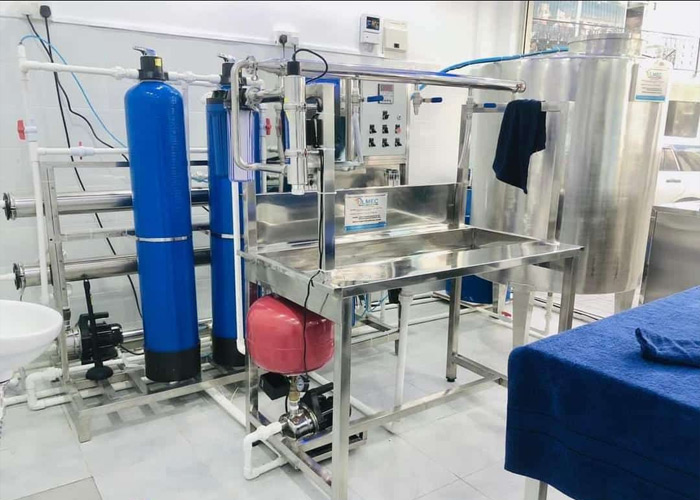
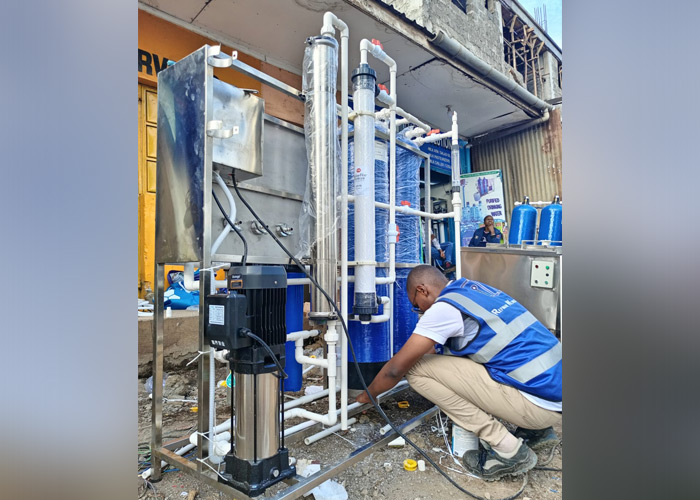
Water Treatment
Rana ltd Water treatment installation involves assessing water quality to choose the right system (whole-house vs. under-sink), then physically connecting it by shutting off water, cutting pipes, installing the unit with fittings and shut-off valves, and finally flushing the system to remove air and fines before checking for leaks, often requiring professional help for larger or complex setups. Key steps include water analysis, site prep, plumbing connections
Rana General Installation
1. Water Analysis & System Selection:
Test your water to identify contaminants, then choose the appropriate system (e.g., for chlorine, sediment, hardness).
2. Preparation:
Clear the area (under sink or main line), gather tools (pipe cutter, spanners, PTFE tape), and locate the cold water line.
3. Shut Off Water & Drain:
Turn off the main or local water supply and open a tap to relieve pressure and drain the line.
4. Plumbing & Electrical:
Secure the filter bracket to the wall or place the tank appropriately.
5. Mount the Unit:
Spray concrete (gunite/shotcrete) over the rebar to form the shell, then trowel it smooth.
6. Connect Pipes:
Install a T-fitting to the cold water line. Connect the filter's inlet to the T-fitting and the filter's outlet to the faucet supply line. If it's a whole-house system, you'll cut into the main line and add shut-off valves. Install Faucet/Bypass: Drill a hole for a dedicated faucet (if needed) and install it; add a bypass valve for maintenance.
7. Check for Leaks:
Slowly turn the water back on and inspect all connections for drips.
8. Flush the System:
Run water through the filter for10-15 minutes (or as directed) to remove air and carbon dust.