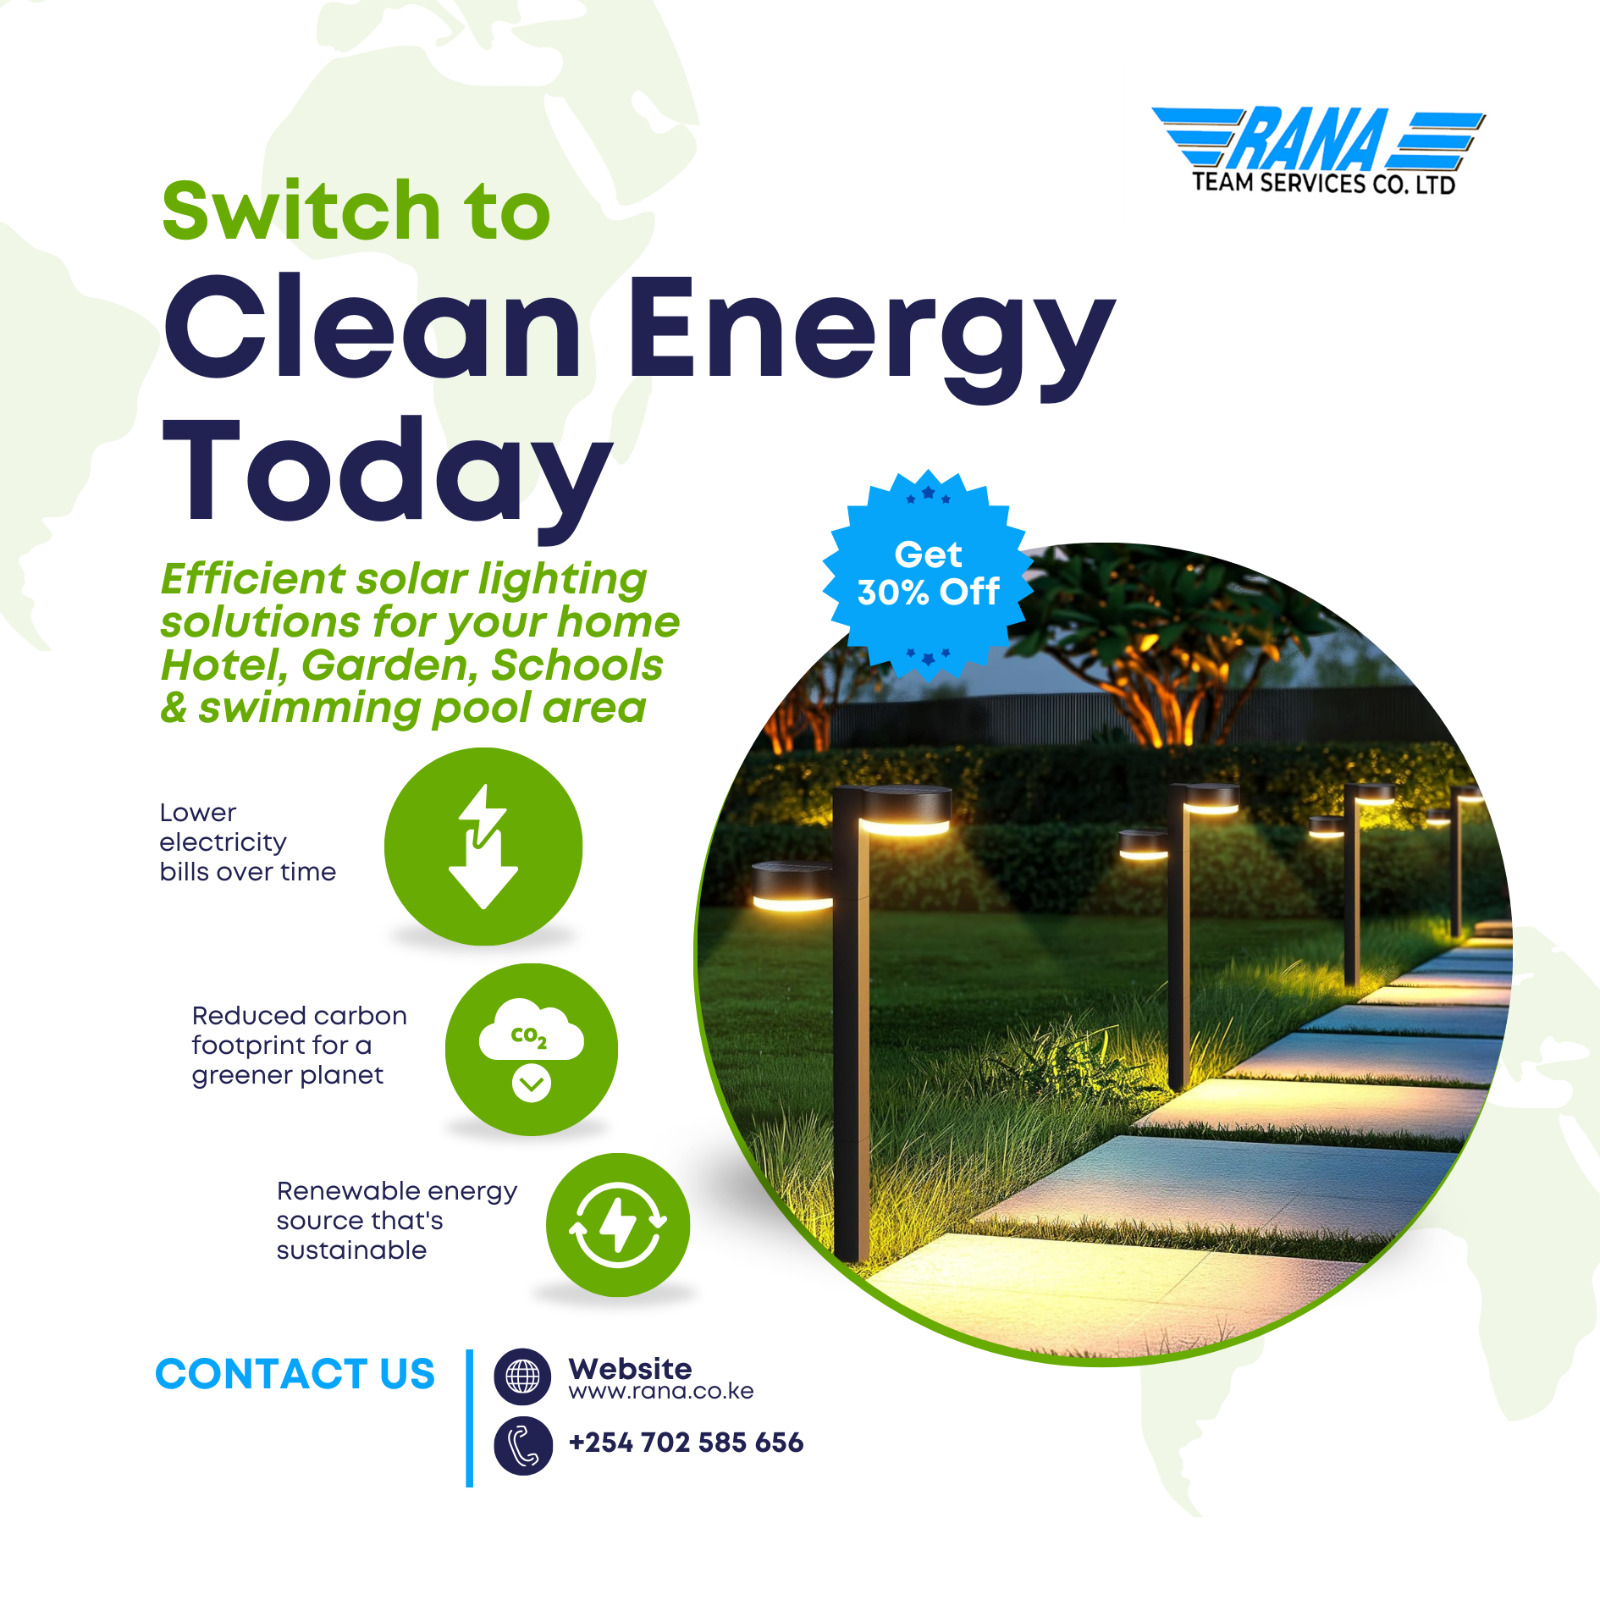

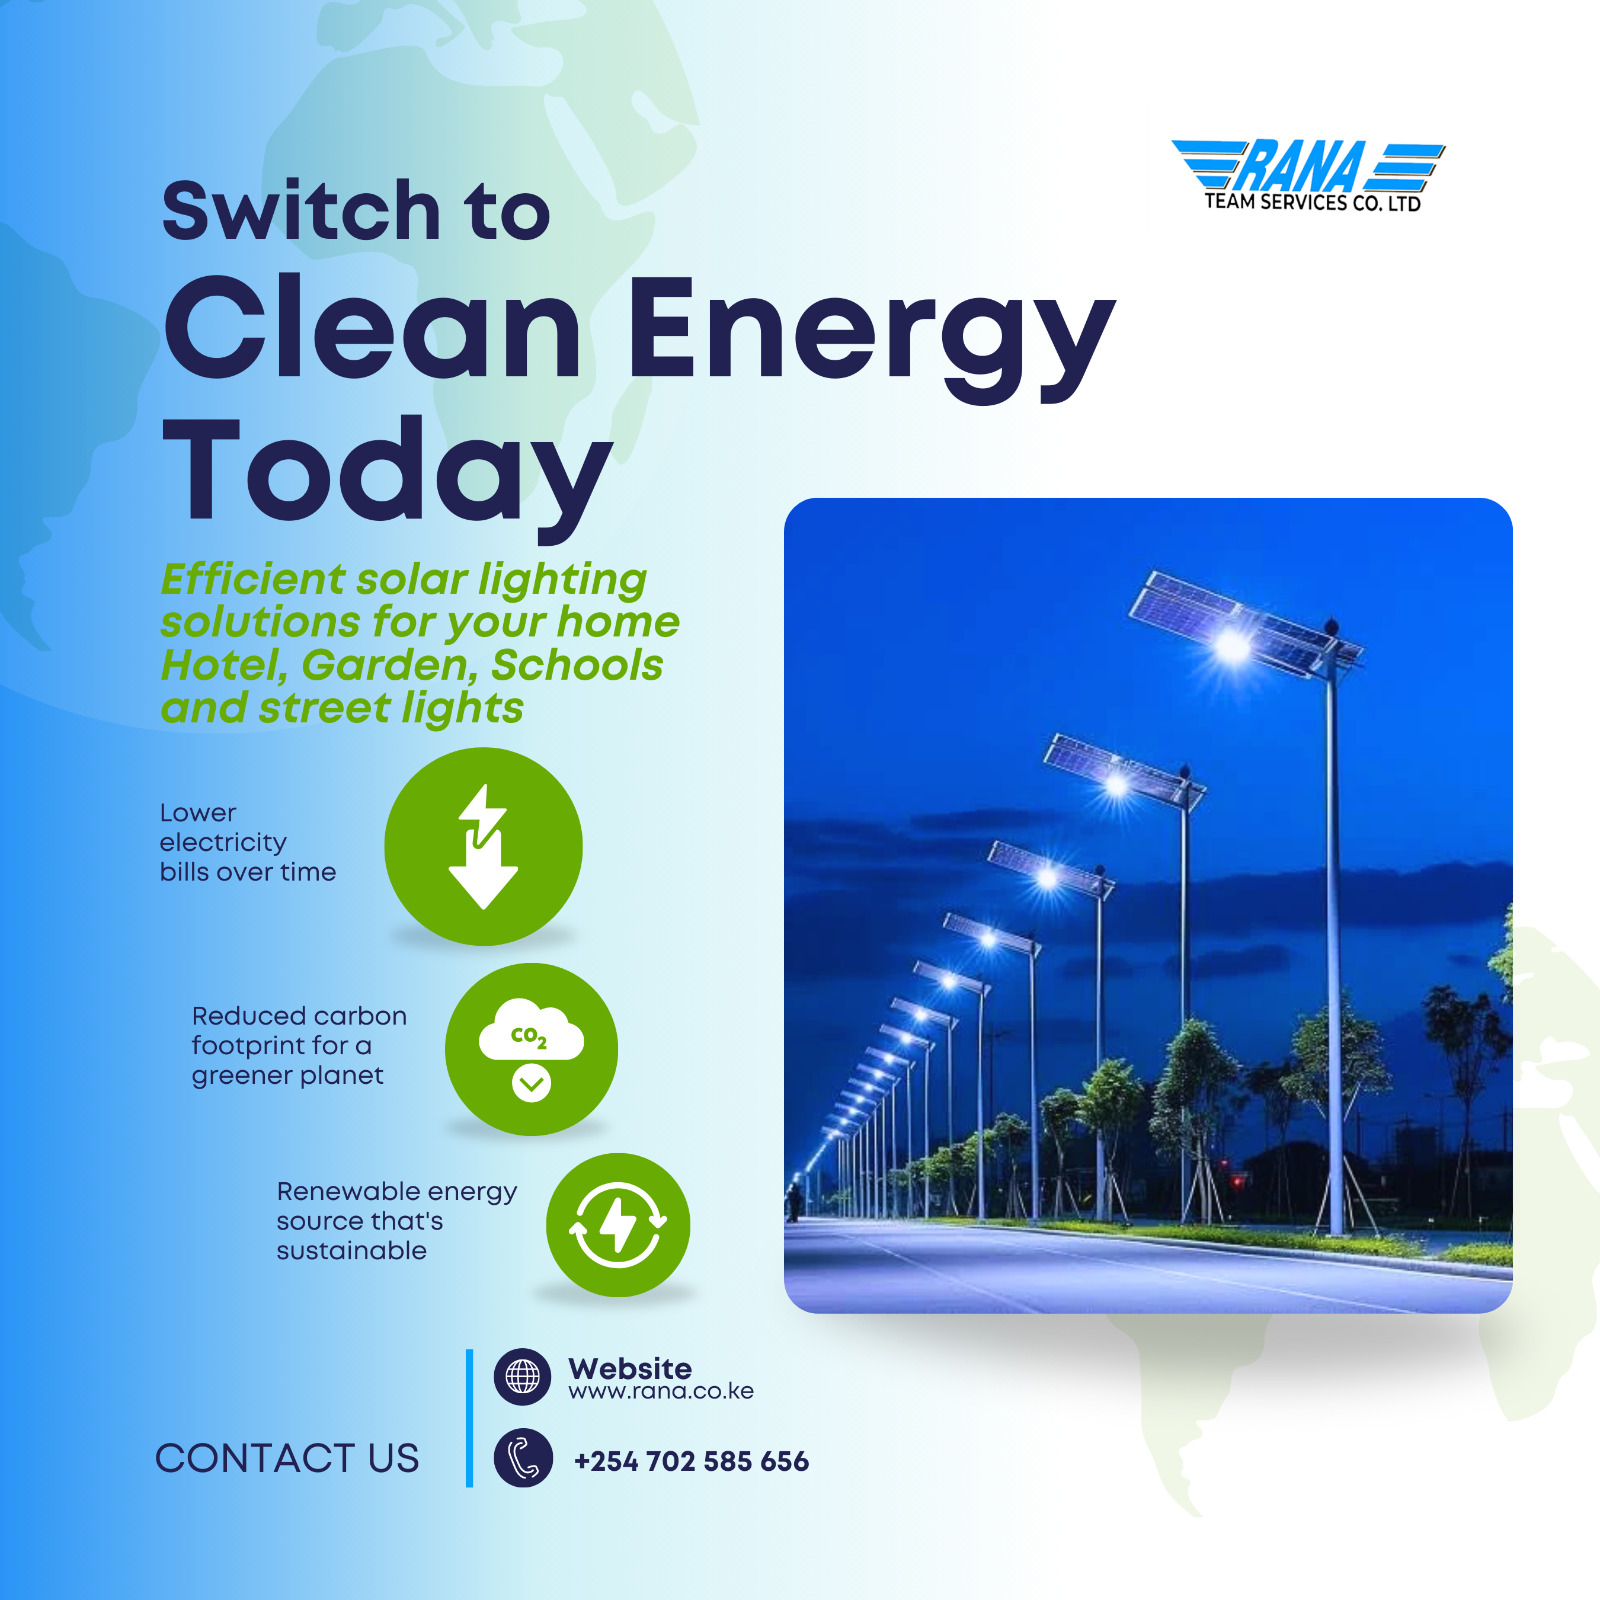


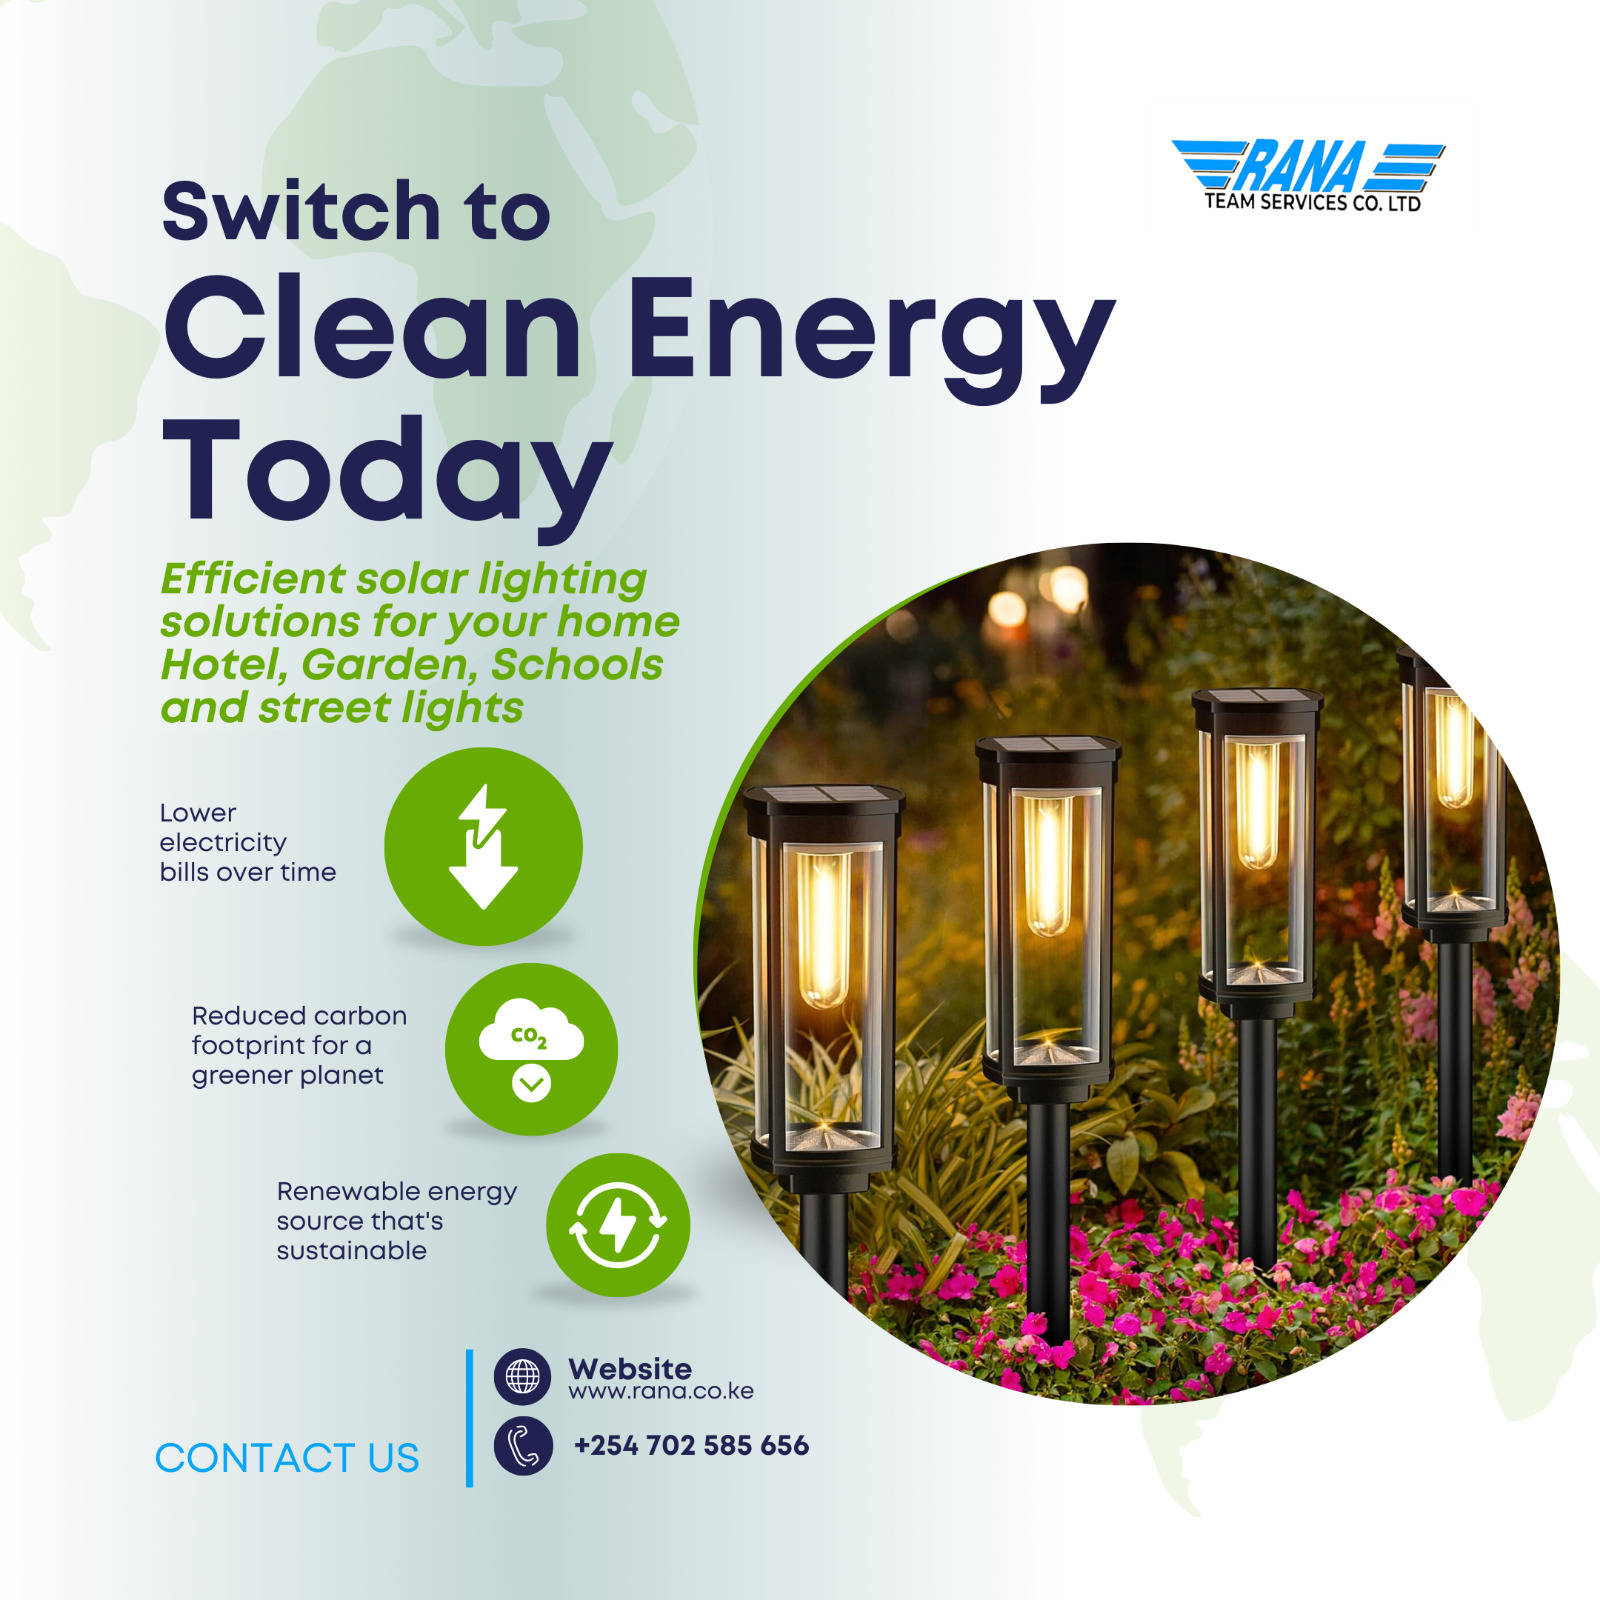
Solar Lights
Rana ltd Installing solar lights involves choosing a sunny spot, preparing the ground or mounting surface, assembling the fixture (often attaching the panel to a pole or bracket), connecting the (usually simple) wiring, and securing it, ensuring the panel faces the sun for optimal charging; first-time use requires a full day’s charge before the light operates automatically at dusk, but you may need to activate an on/off switch or unlock settings.
Key Considerations
Stake Lights : For simple garden lights, just push the stake into pre-softened or pre-drilled ground.<br>
Street Lights: These are more complex, involving poles, deeper foundations, and secure wiring within the pole.<br>
Testing: Use a multimeter during the day to check panel voltage if needed.<br>
Maintenance : Wipe solar panels occasionally and replace batteries every 1-2 years.
General Steps for Installation
1. Location is Key:
Pick a spot getting 6-8+ hours of direct sunlight daily, away from shade.
2. Prepare the Site:
Clear debris, level ground, or mark holes for stakes/mounting.
3. Assemble Components:
Attach mounting brackets and the solar panel to the pole or fixture base as instructed.
4. Mount the Light:
Secure the light head to the bracket or arm, ensuring the solar panel faces the sun (south in Northern Hemisphere).
5. Connect Wiring:
Follow the manufacturer's diagram for simple connections between panel, battery (if separate), and light.
6. Install Pole/Fixture:
Erect the pole securely (often with concrete for tall streetlights) or mount wall lights with screws.
7. Initial Charge:
Let the light charge for a full sunny day before first use.
8. Activate:
Turn the light on (or unlock timer settings) so the automatic dusk-to-dawn sensor works.