
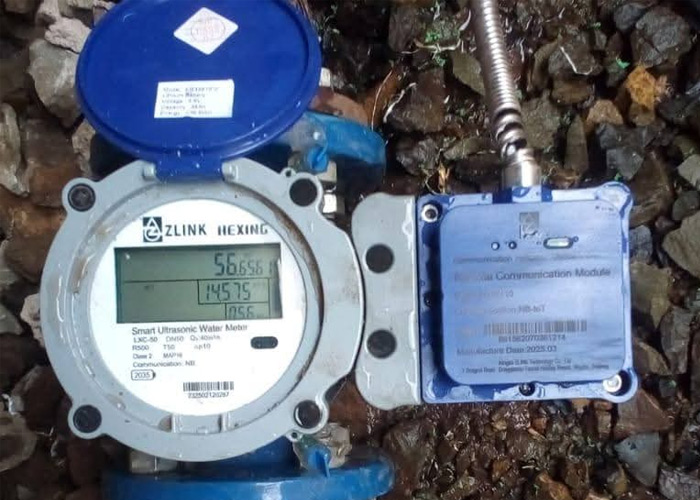


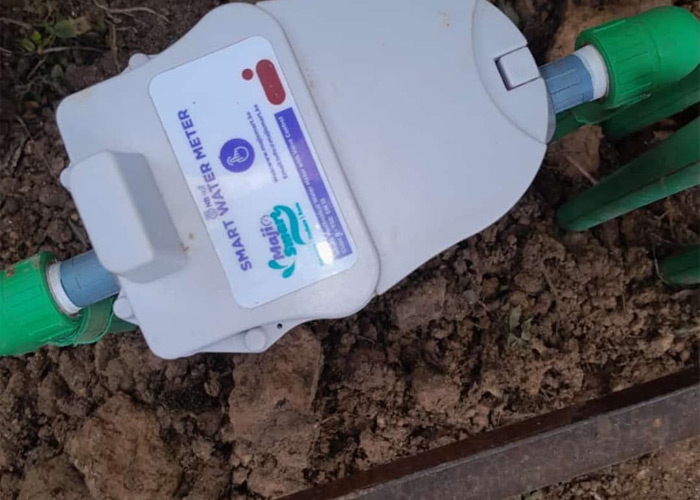
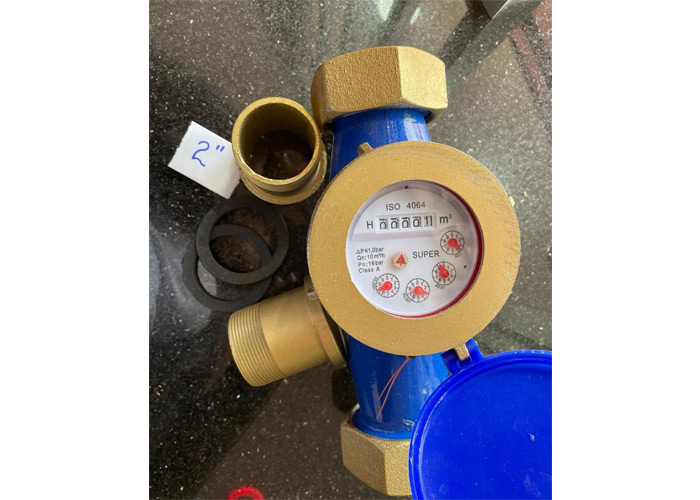
Water Meter
Rana Water meter installation involves shutting off water, choosing an accessible spot (often underground) with straight pipe runs, aligning the meter arrow with water flow, using valves and fittings for connection (avoiding stress), and ensuring the pipe section is clear of debris and fully filled with water to prevent air pockets for accurate measurement. A filter may be needed for poor water quality
Rana ltd Key Steps for Installation
1. Shut Off Water & Drain:
Turn off the main water supply and drain the pipes to prevent leaks.
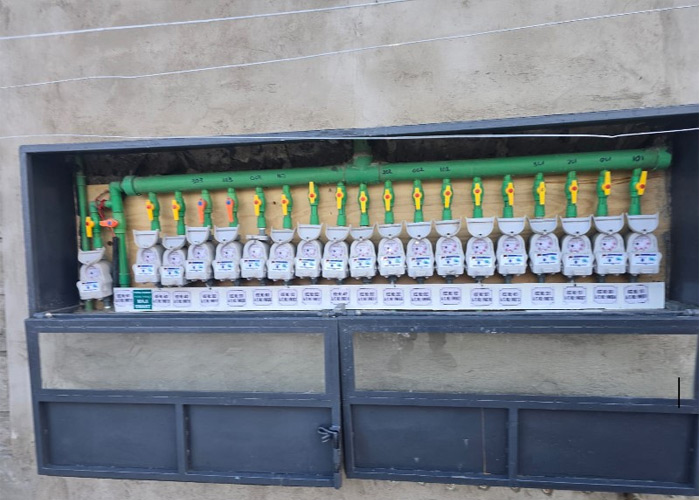
2. Select Location:
Choose a spot easily accessible for reading and maintenance, typically on the property boundary in an underground box or accessible vault, ensuring it measures all usage.
3. Prepare Pipe:
Clear debris (sand, stones) from the new pipe. Install valves before and after the meter for isolation and bypasses for servicing, if possible.
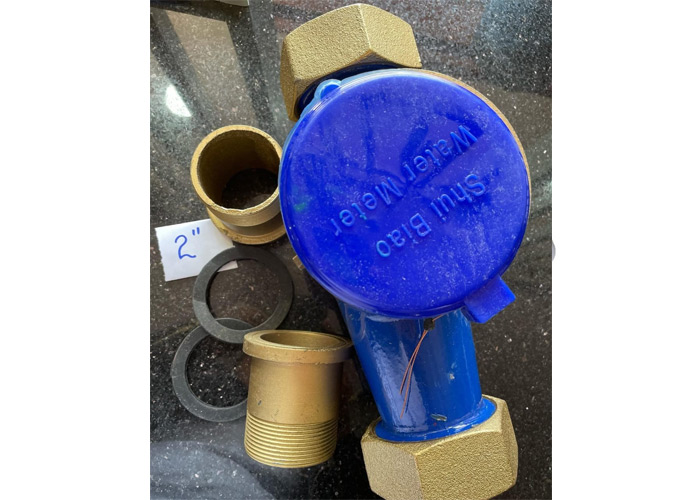
4. Align & Connect:
Ensure the meter's arrow matches the water flow direction. Mount the meter to prevent stress from pipes; use unions or flexible connectors. Install washers and tighten fittings securely but not excessively. Place the meter so the flow direction is correct and the pipe stays full of water (often requiring a slight downward slope or specific positioning for smart meters).
5. Check Orientation:
Confirm the meter is positioned horizontally (face up) or vertically as per manufacturer specs; smart meters often allow any orientation.
6. Add Components (if needed):
Install a strainer for debris protection or a check valve if near a boiler.
Commission:
Open valves slowly, check for leaks, and ensure the meter is fully submerged and operational.